I received a lot of nice comments about the coaster calendars that we made at my January Hostess Club. Instead of replying individually to requests for the tutorial, I thought I would post it here for everyone to use. :)
I bought my coasters and calendars through an online bulk buy group. If you are interested in joining contact Karen Sullivan (kasully@verizon.net). I will also provide other sources for these supplies below.
Supplies:
2- 4" x 4" chipboard coasters (http://bonniesbest.com/chipboard.htm or http://www.stamponthis.com/)
Calendar (http://www.stamponthis.com/)
4 pieces of coordinating Designer Series Paper 4 1/8" x 4 1/8"
1 piece cardstock 2 1/2" x 3 1/4"
adhesive (snail or sticky strip)
4 Jumbo Eyelets
Crop a dile
Sanding block
Scissors
Ribbon
Dimensionals
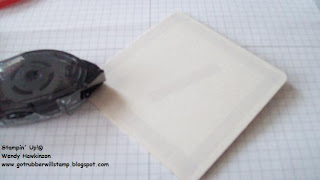
Apply adhesive to the very edges of your coaster and add DSP to both sides of your coasters.
Using your scissors, trim the excess DSP from the edges and corners.
Sand the edges of your coaster.
Using the 3/16" hole punch on your crop a dile, punch holes through both coasters at once for your jumbo eyelets. This insures that they line up when assembled.
Separate the coasters and add jumbo eyelets to each coaster.
Adhere calendar to cardstock. Add dimensionals to the back of the cardstock and attach to the front of your coaster.
Tie coasters together w/ the ribbon of your choice.
Viola! Finished....


This tutorial is great - love the idea and hope to be organized enough to make some for next year. :-)
ReplyDeleteHope you feel better real soon.
Great job done on the tutorials considering how sick you are. I hope you are feeling better soon!
ReplyDelete